Living on a rural property offers a unique blend of tranquility and space, but it also comes with responsibilities such as managing pets and ensuring your land is well-secured. One essential task for many rural property owners is putting up woven wire field fencing. This type of fencing is durable, cost-effective, and ideal for containing livestock, pets, and keeping out predators. In October of 2016 I began the hard task of fencing in the entire homestead. This would allow us some security from critters coming onto the property as well as provide the means to have our dogs run free around the property.
A good friend offered up free good sized fence posts that were just piling up on his property, enough in fact the covered the entire job! All we needed was the woven field fence. I did my property survey myself being an ex-surveyor and determined I would have 1050′ to be fenced in. This would be the front and two sides, with Gillis pond being the barrier on the south side. The average role of woven wire field fence is 330′, so I knew I would need three roles, along with a gate for the front drive. With posts going in every 8 ‘ I knew I needed a minimum of 130 posts, and we had plenty!
Here’s a detailed guide on how I installed the woven wire field fencing on homestead…
Before I Started…
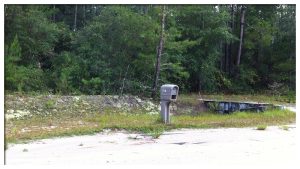
The number one thing to know is your property lines! I had an original survey of the property and easily found all four corners, based on the survey. The hard part was the fact our property drops almost 10′ from front to the rear. I would not be able to see down the entire line in one long look. Fortunately a tall power pole was located directly on the property line to the east. I was able to clear that East line in two sections using the power pole and property corners as my guide. The front property line was easily cleared due to being on the road. The West line was a bugger!
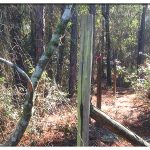
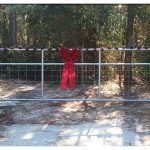
That West line was wooded as well as dropping in feet. At roughly the midway point I put a tall stadia pole tied with day-glow ribbon so I could see it from the rear as well as the front of the property. I ran a string line along this estimated line and cleared a 2′ wide path and with several adjustments, established an accurate property line. No all three sides were stringed and ready for posts!
Assemble the tools…
I would need:
Materials and Tools Needed
- Materials:
- Woven wire field fence rolls
- Fence posts (wooden or metal)
- Corner posts (heavier duty than regular posts)
- Bracing materials
- Staples (for wooden posts) or clips (for metal posts)
- T-post caps (if using T-posts)
- Tools:
- Post hole digger or auger
- Fence stretcher
- Wire cutters
- Hammer
- Level
- Measuring tape
- Shovel
- Gloves
Digging Post Holes…
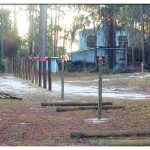
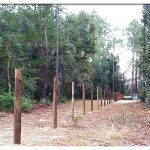
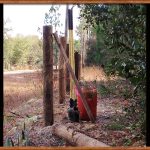
I think this was the hardest part of the entire project…130 posts! On several occasions I would hit pine tree roots and would have to choose to move the post but all in all, over several days all the posts were in!
Rolling, Stretching and Stapling the fence…
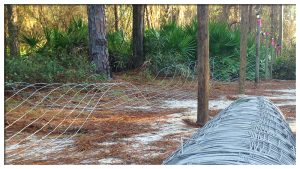
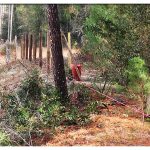
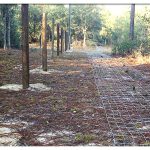
Another very hard and frustrating aspect of my fencing project. I had to roll out the heavy wire along the property line where I had the posts in. The East side was not a problem due to it being an electric easement so it was clear. The other side…my goodness what a chore getting that wire rolled out along 430′ of brush and trees! But it finally got done. The next step was lifting the wire up, letting it be supported by the posts and a few staples and begin the process of stapling it to the posts.
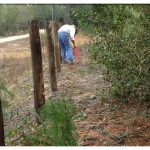
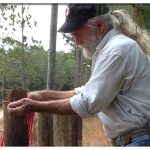
I first stapled it well to my corner post and then, using a come along at the other end, tightly stretched the wire against the posts and came along post by post, stapling the wire to each post.
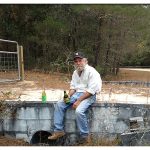
This was a project that took me a couple of weeks, a lot of strength and sweat and numerous beers and gator aid, but when finished was so rewarding!
![]()


